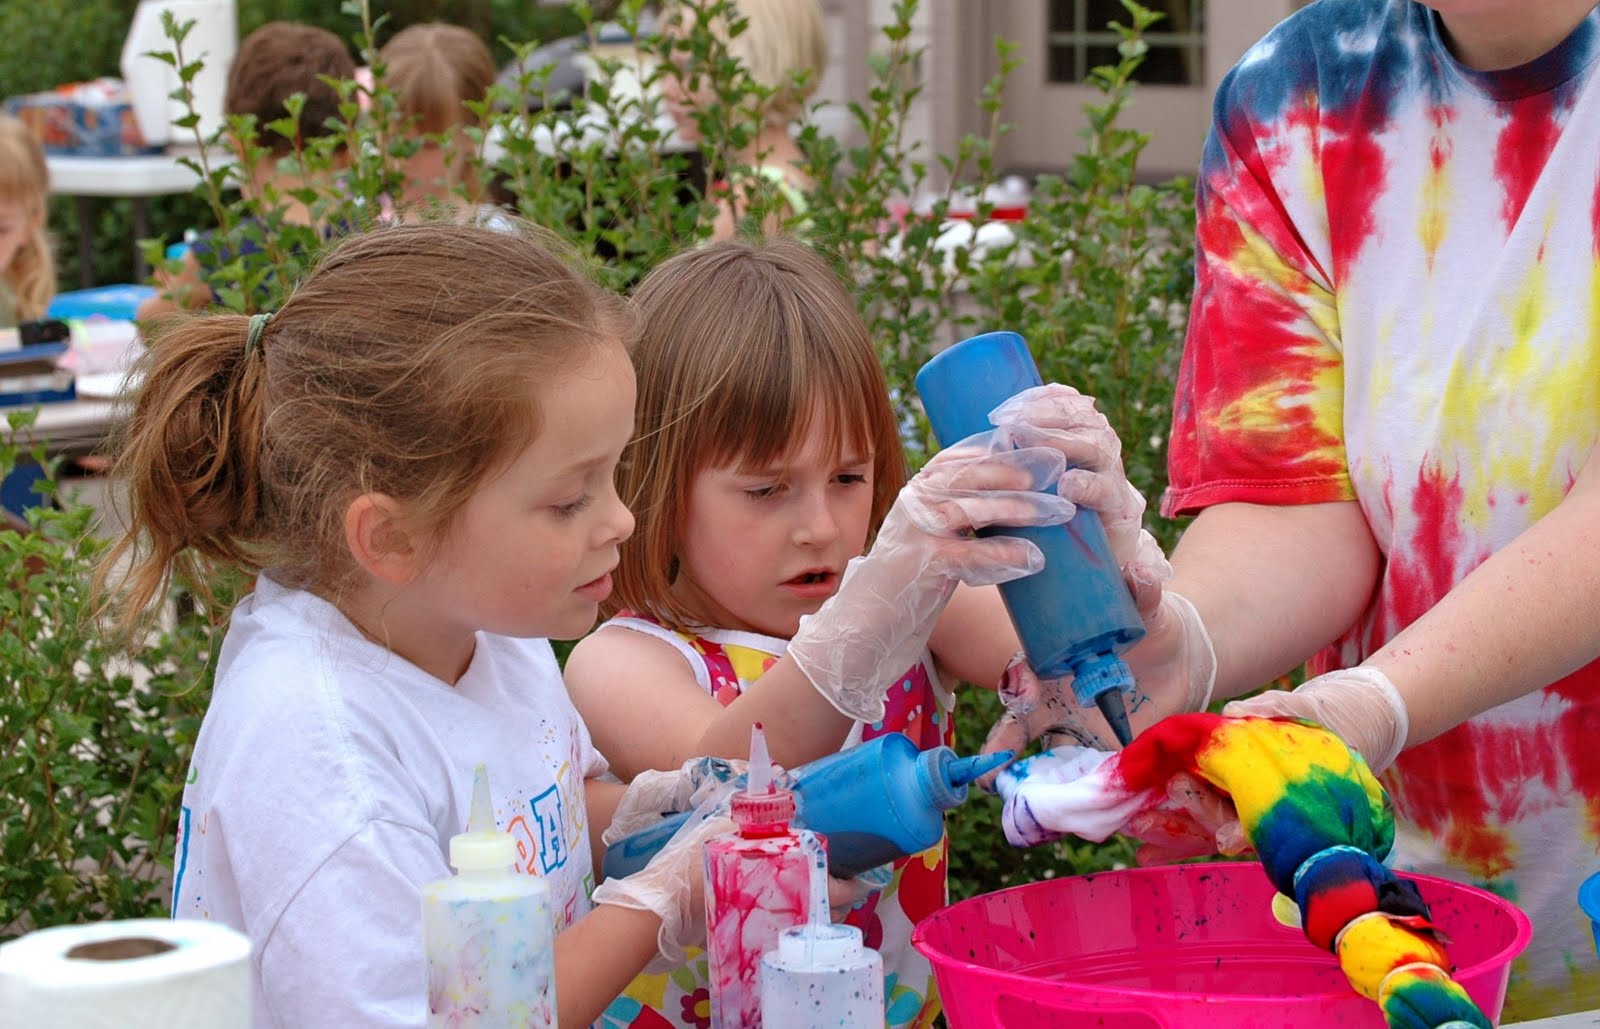
Monday, February 8, 2010

Valentine Folded Heart Card

I love this idea of a Valentine's Day card. Very simple and easy to make, and it does not have to be perfect so your kids can help you with this project. Since Patti at "Creations by Patti" blog has a wonderful tutorial on how to do this project, you can click HERE.

This is my card following her instructions. I did modify and used a ribbon to go around the card and stuck my flower to the ribbon. I did cheat and glued my inside card on the heart and then scored around around the card; I was off a just bit, but the ribbon and flower hide my mistake :). I did use tissue paper for the flower [it was pretty wrinkled] and it worked better if I folded the tissue paper in half and then used the punch. I then put the flower together with a pink brad and dipped and rubbed it on out Bigfoot & Pickle Face child safe/washable ink pad in the color pink.

Card Folded

Inside of the card.


I found this stamp at the local craft store at 1/2 off the clearance so I paid $1.88 [original $7.50]. The stamp is by Great Impressions and I really like it because it reminds me of Bigfoot & Pickle Face when they are playing nice.


Here is Bigfoot showing off her barrettes.

Happy stamping and creative crafting with the kids.

Friday, February 5, 2010

Matchbook Valentine

Bigfoot gave to me the other day a "secret Valentine" from an admirer, which was obviously her. So I had to put together something for her from her "secret Valentine". So I quickly put together 2 matchbooks that were a Valentine theme and presented them to her and Pickle Face [similar to the ones below]. Inside their matchbook was a mini Heath Bar that was wrapped with a saying. They were not to eat their treat until after dinner, but Pickle Face snuck his treat in and I found the wrapper later. He let me smell is breath and I knew he was the one that ate it. He is very picky about dinner but he sure loves his sweets.

Here is the matchbooks completed.


Here they are opened. As long as you can put the item in it and close it, use what you want for a filling.


Cut a piece of card stock 1.75" x 5". Score on the 5" side at 2", 2 1/4" and 4 1/2".


Decorate your matchbook and then choose what you want to put inside and staple the treat inside. You can decorate with just about anything you have handy. I used mini Heath candy bars and Life Savors hard candy. If giving it as a Valentine's card, have your child sign it on the inside or the backside.


These are quick and easy to put together and does not require much thought. You can have your child do the decorating, just have them do it over a period of time if they have lots of them to do.

Here was the note from my secret admirer. Boy did I feel special. This was the inside.


This is the front. Oh, she has to put periods at the end of each word ~ cute.


These are great for party favors at a child's party, baby or bridal showers or wedding favors. Quick and easy, I love it.

Have a great weekend and keep stamping and spending time with your children. Crafting with them is fun!

Monday, February 1, 2010

Bigfoot & Pickle Face ~ Blue Tongue

I forgot I took this photo of Bigfoot & Pickle Face. They both were treated to a blue sucker and thought it was cool they ended up with a blue tongue. I was able to get them to stand still together so I could take a quick photo. They are at that age where they play real nice together and Bigfoot is forever trying to teach Pickle Face new things. Some days, he wants nothing to do with her; but you can see the love they have for each other.

Oh, Bigfoot is in her summer dress and when this picture was taken it was probably 15 degrees out.


Enjoy!

Valentine Matchbox

Bigfoot needs to bring to school 22 Valentine cards during the week of February 8th. We decided instead of giving out cards you can buy, we would make them ourselves. The teacher sent home a note about a week ago to have the kids start signing their cards over a bunch of days so that it would not be such a big task for 4/5 year old. Here is a pile of the project we did.


Using the paper we had on hand I printed, cut out and glued 24 boxes [cannot forget the teachers]. I used bright pink for the bottom and then coordinated the outside box with decorative paper we had on hand. Since Bigfoot is still young and her attention span is not that long, I did the boxes on my own. I decided that as long as the paper coordinated we could dress it up with hearts.

I wanted to try out polymer clay as I have seen some cool looking buttons on blogs that I follow, so we rolled out the clay and used a heart shape cutter on both the red and blue clay. We mixed in a bit of white clay to give some of them a marble look. I used a glossy glaze on one side of the heart to see how it would change the look; I like it glossy. The kids can re-use the clay hearts and make a necklace for their mom or grandma if they want ~ recycle.

I printed out on pink paper hearts for her to sign her name so we could attach them to the box. I kept telling her over the last 4 days that she needed to sign the hearts. I am trying to get her to write smaller and keep her "long 8 letter name" all on one line. Yesterday she took the pages and I thought maybe she would only get about 5 of them signed, she wrote her name on all 30 hearts and then cut them out without me knowing. Truth be told, I was happy that she cut out all the hearts and even though they do not look perfect I still think they look fabulous. She saved me a ton of time. We used hemp and attached all the hearts together and then hemp again to wrap the hearts around the box.

As for the candy wrap, I used Hershey Nuggets and then printed out the sayings we wanted to use on to labels, and then used a background I designed in MS Word and ran the sheet back through the color printer. Bigfoot then put the labels around the candy for the inside of the box. After all her hard work, she was able to have a few Nuggets herself [I found out she had 4!].

Here she is wrapping the candy.

Here she is showing the 6 wrapped candy she has done. 18 more to go!

Not your usual Valentine Day card, but we do like to be different. We had fun doing this project and we are done, yeah! Now she needs to decide if she wants to make some Valentine Day cards for her gym friends and if so we will make it a much simpler project.

Have a great day and thank you for visiting my blog.

Thursday, January 28, 2010

Template Half Page and Full Page ~ Circus Tent

Here are the templates for the Circus Tent I promised. If you need a smaller size, see the post I did on January 25, 2010 HERE.

Here is my Circus Tent that I did on the 2 per half sheet. I did not get a chance to finish it, but when I showed the kids my example many of them wanted to copy it. Bigfoot & Pickle Face provides a wonderful selection of circus stamps on our online store, visit there for ideas and to purchase.


Remember, these are my designs so if you are using them and publishing them please give me credit. They are a copyright 2010 of Bigfoot & Pickle Face.


2 per page Circus Tent


Full Page Circus Tent


Happy stamping and have a great week. Make sure you include the kids when crafting, you will be amazed at what they will create.

Wednesday, January 27, 2010

Template Half Page and Full Page ~ Fish Bowl

Here is the templates of the fish bowl on a full page and 2 on a full page. Have fun rubber stamping and coloring, and if you need rubber stamps stop by our store HERE.

Here is my sample of the fish bowl using the 2 on a full page template.


Full Page Fish Bowl


Two per page Fish Bowl

Remember, these are my designs so if you are using them and publishing them please give me credit. They are a copyright 2010 of Bigfoot & Pickle Face.

Happy Stamping and creating! Tomorrow look for the enlarged Circus Tent Template.

Tuesday, January 26, 2010

January 2010 Sale on rubber stamp sets

Go to Bigfoot & Pickle Face's storefront HERE and enter the following code JAN20SALE for 20% off all products [excluding starter kits and child safe/washable ink pads]. Sale ends January 31st, 2010; so place your order soon.

Feel free to pass this information to your family and friends. Happy Stamping!

P.S. Tomorrow I will post another template for you to print.